In this tutorial we examine how to create a web page by using the slice tools in Photoshop and ImageReady.
In this tutorial we are going to use Photoshop and ImageReady to create a web page using rollover buttons and the slice tool. Note that this is only one way of many that can achieve the same result but it does illustrate the use of the facilities in Photoshop and ImageReady. Note this is a long page.

1. Prepare your background image to the right size.
2. Position guides to make creation and positioning of content and slices easier
3. Create content for the page design
4. Place your initial text which is going to form your buttons
5. Switch to ImageReady
6. Use the Slice Tool to generate slices for all parts of the page that look like they could use different compression methods and for each of the buttons
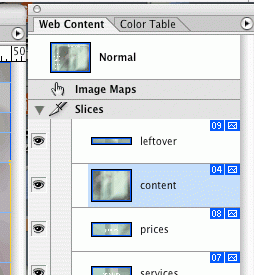
7. Rename the slices to be meaningful by double-clicking on their names in the Web Content palette
8. Duplicate the button layers so that you have one for each rollover state you wish to use. In this case it is three: normal, over and click. Rename the copies to reflect the button status
9. Modify the layers to reflect the different effects you want. Remember that if you use layer styles, as in here, you can copy and paste the styles between layers to ensure a consistent result
10. Now turn off all the button layers except the normal state
11. Now select one of the slices in the Web Content palette and click the Create Rollover State at the bottom of that palette.
12. Now turn on the layer that gives the display for that state
13. Now repeat for all the other buttons and states. By default the next state after Over is Down. If you right or control click on the state name you will get a small menu that allows you to pick from the other states.
14. At this point you can preview it in a browser to make sure it works. The most common mistakes here is to not have the right layers visible in the correct states. To correct just click on the state you need to change and then turn on and off layers until you have it right
15. Now for each slice define the URL it is to trigger a jump to, the Alt tag, etc.
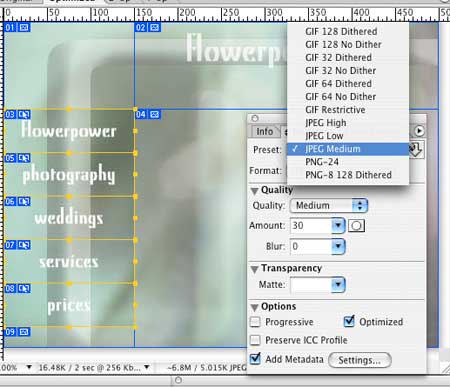
16. The last real thing is to optimize each slice by selecting the compression method and degree. You can work on multiple slices at the same time by shift clicking on the slices
17. Lastly we do a File Save As and make sure we save HTML and Images. Save these to your site folder or
directory and then you are ready to work further on it in
Dreamweaver or some other web design application to add the content to each page.