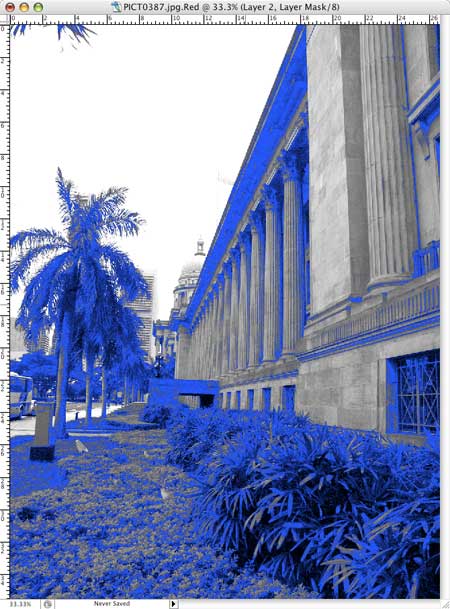
Split toning is where we get a different color effect in different parts of the image.
Digital Split Toning
Digitally we work exactly the same way as in the previous tutorials but
we need at least two different color layers or adjustment layers. For
this example we will use a warm and a cool tone.

1. Put your monochrome image into RGB mode.

2. Pick your warm color.

3. Create a layer, fill it with the warm color and change the blending mode to color.
4. Turn off this color layer.

5. Pick a cool color and create a cool tone layer. Set the blending mode to color.
6. Now what we need to do is to find a way to blend
these two, so that the warm tone affects perhaps only the highlights
and the cool tone only affects the shadow areas, with a subtle blending
between the two.
7. One way is to hand paint the masks for each color layer, but we will use a different approach.

8. What we will do is create a selection for the shadow areas. We do this with Select -> Color Range.

9. Select Color Range gives us lots of options. In
this case we are selecting based on the shadows. Clicking OK will give
us a selection.

10. Now with the cold layer selected we create a layer mask based on the selection.

11. The result is the blue only in the shadow areas.

12. Now whilst it is not strictly necessary in this
example, you might want to do it if you were using more than two
colors, we will also mask the warm color. We do the Color Range again
for shadows but then invert the selection before creating the layer
mask by going Select -> Inverse.

13. Now we use the Opacity settings on the color layers to tone the effect down as desired.

14. If you compare the before and after effects you can see the potential of this technique.