People are often looking for ways to give their images a different look in Photoshop. I find that the combination use of Layers, Gaussian Blur and Blending Modes can be a match made in Heaven. Part 1 takes the simple approach.

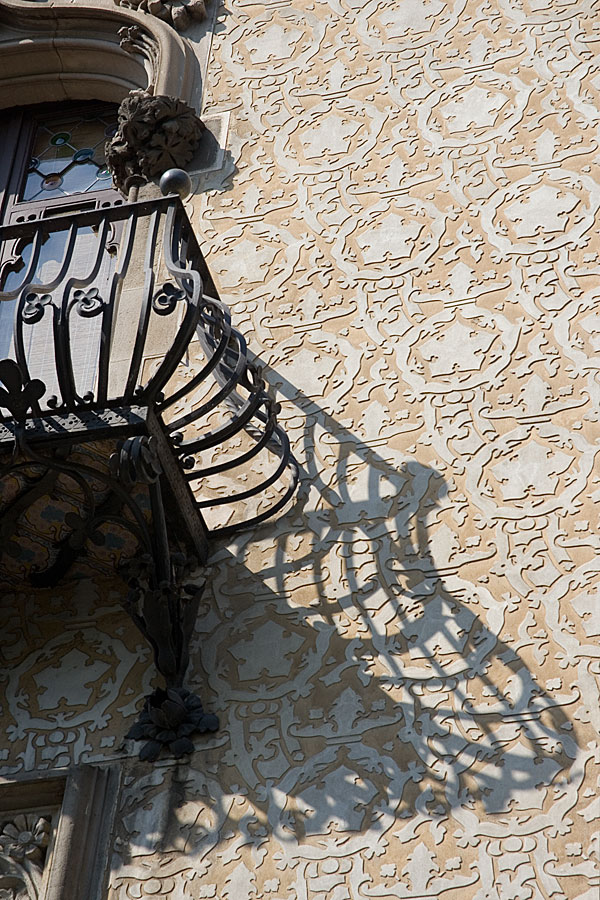
The image before:
If you think of some of the types and techniques of traditional photography that produce quite evocative photography, many of them involve some mix of blur and sharpness. Shallow depth of field techniques, the halation glow in some film-based infrared photography, the use of Vaseline on a filter or a black or white stocking stretched over a lens or even a dedicated diffusion filter, like those offered by Tiffen in many variations, all involve a controlled degree of blur. This blur may, depending on the technique, serve to spread just the highlights, just the shadows or tend to blur all the tones. I even remember a technique of shooting two images on slide film, one blurred, and then sandwiching the slides together, or doing a similar thing through multiple exposures. I also achieved the same thing in black and white printing by printing the focused image and then defocusing the enlarger and re-exposing the paper. All these techniques produced different effects and the fun was in finding the right one for a given desired result.
Before:
After:
Before:
After:
These approaches can be duplicated quite nicely, and with even more control, in Photoshop. Photographers tend to crave control, the ability to create exactly the effect you want, where you want it. What better than having that control when sitting comfortably in front of that nice, large monitor.
Before:
After:
After using Overlay Blending Mode:
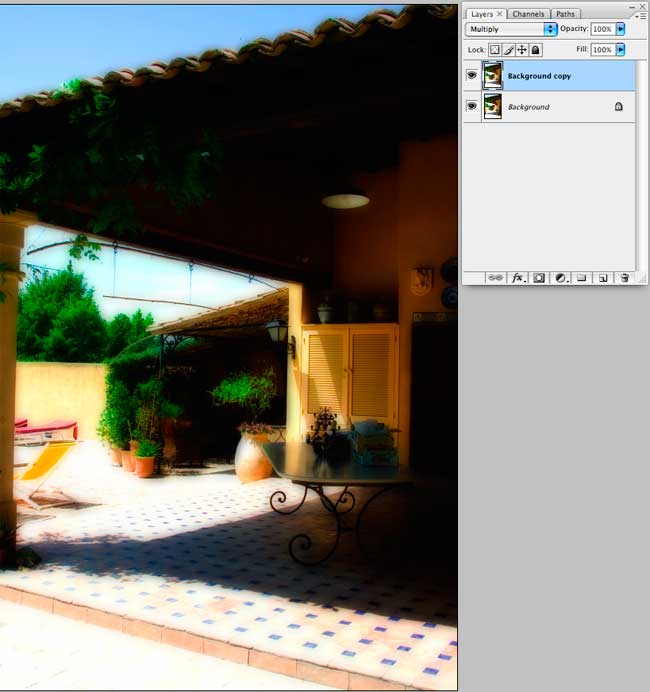
The basic approach I use involves opening a straight image in Photoshop, duplicating the background layer, blurring the duplicate layer and then blending the blurred and sharp layers in some way. There are, in fact, many ways to do this that will give you different effects, and all the control you could ever want.
Before:
After:
Basic Technique – Photoshop:
* Open your starting image in Photoshop
* Duplicate the layer
* Apply a Gaussian or Lens Blur to the duplicate layer. Experiment with the settings depending on the resolution of your image, but you want a fair degree of blur
* Change the blend mode to multiply
* Some images work better in overlay
* Adjust Opacity as you wish to get the result you want
Rationale:
Using Multiply blending mode darkens the resulting image. It also gives the appearance of increasing contrast. Thus this simple technique will only work well on some images, but it is a good starting point. Try both Multiply and Overlay to see which one works best on a given image.
Here are some more examples. In Part 2 we will look at some more advanced ways of working with this technique. As you will see from the images in this article, the basic technique works well on some images, less so on others. Hence the need for a number of related approaches that I’ll explore in the follow on articles.
Before:
After:
Before:
After:
Before:
After:
Before:
After:
Before:
After:
Before:
After: